
How to Turn Your Voice Memos into Organized Text
This guide is designed for anyone looking to transcribe voice memos, be it for personal, academic, or professional use. From recording on iPhone, Android, Mac or Windows to turning the audio into text, this post covers everything you need to know.
In this blog, you’ll learn:
- Why transcribing voice memos can save you time and boost productivity.
- Simple steps to record voice memos on any device.
- Easy ways to turn your audio into text using free tools or advanced options.
- When it makes sense to skip the memo and dictate instead.
- Quick tips to make the process smooth and effective.
Why Transcribe Voice Memos?
Audio memos are great for capturing ideas quickly, but they often lack structure. Transcribing them into text allows you to:
- Organize your thoughts into actionable tasks or notes.
- Search and edit the content easily.
- Share information in a more accessible format.
- Retain key details from meetings or conversations.
Step-by-Step: Recording Your Voice Memo
1. On iPhone
- Open the Voice Memos app.
- Tap the red record button to start recording.
- Press Stop when finished.
- Save or share your memo by tapping the three dots next to it and choosing Save to Files or Share.
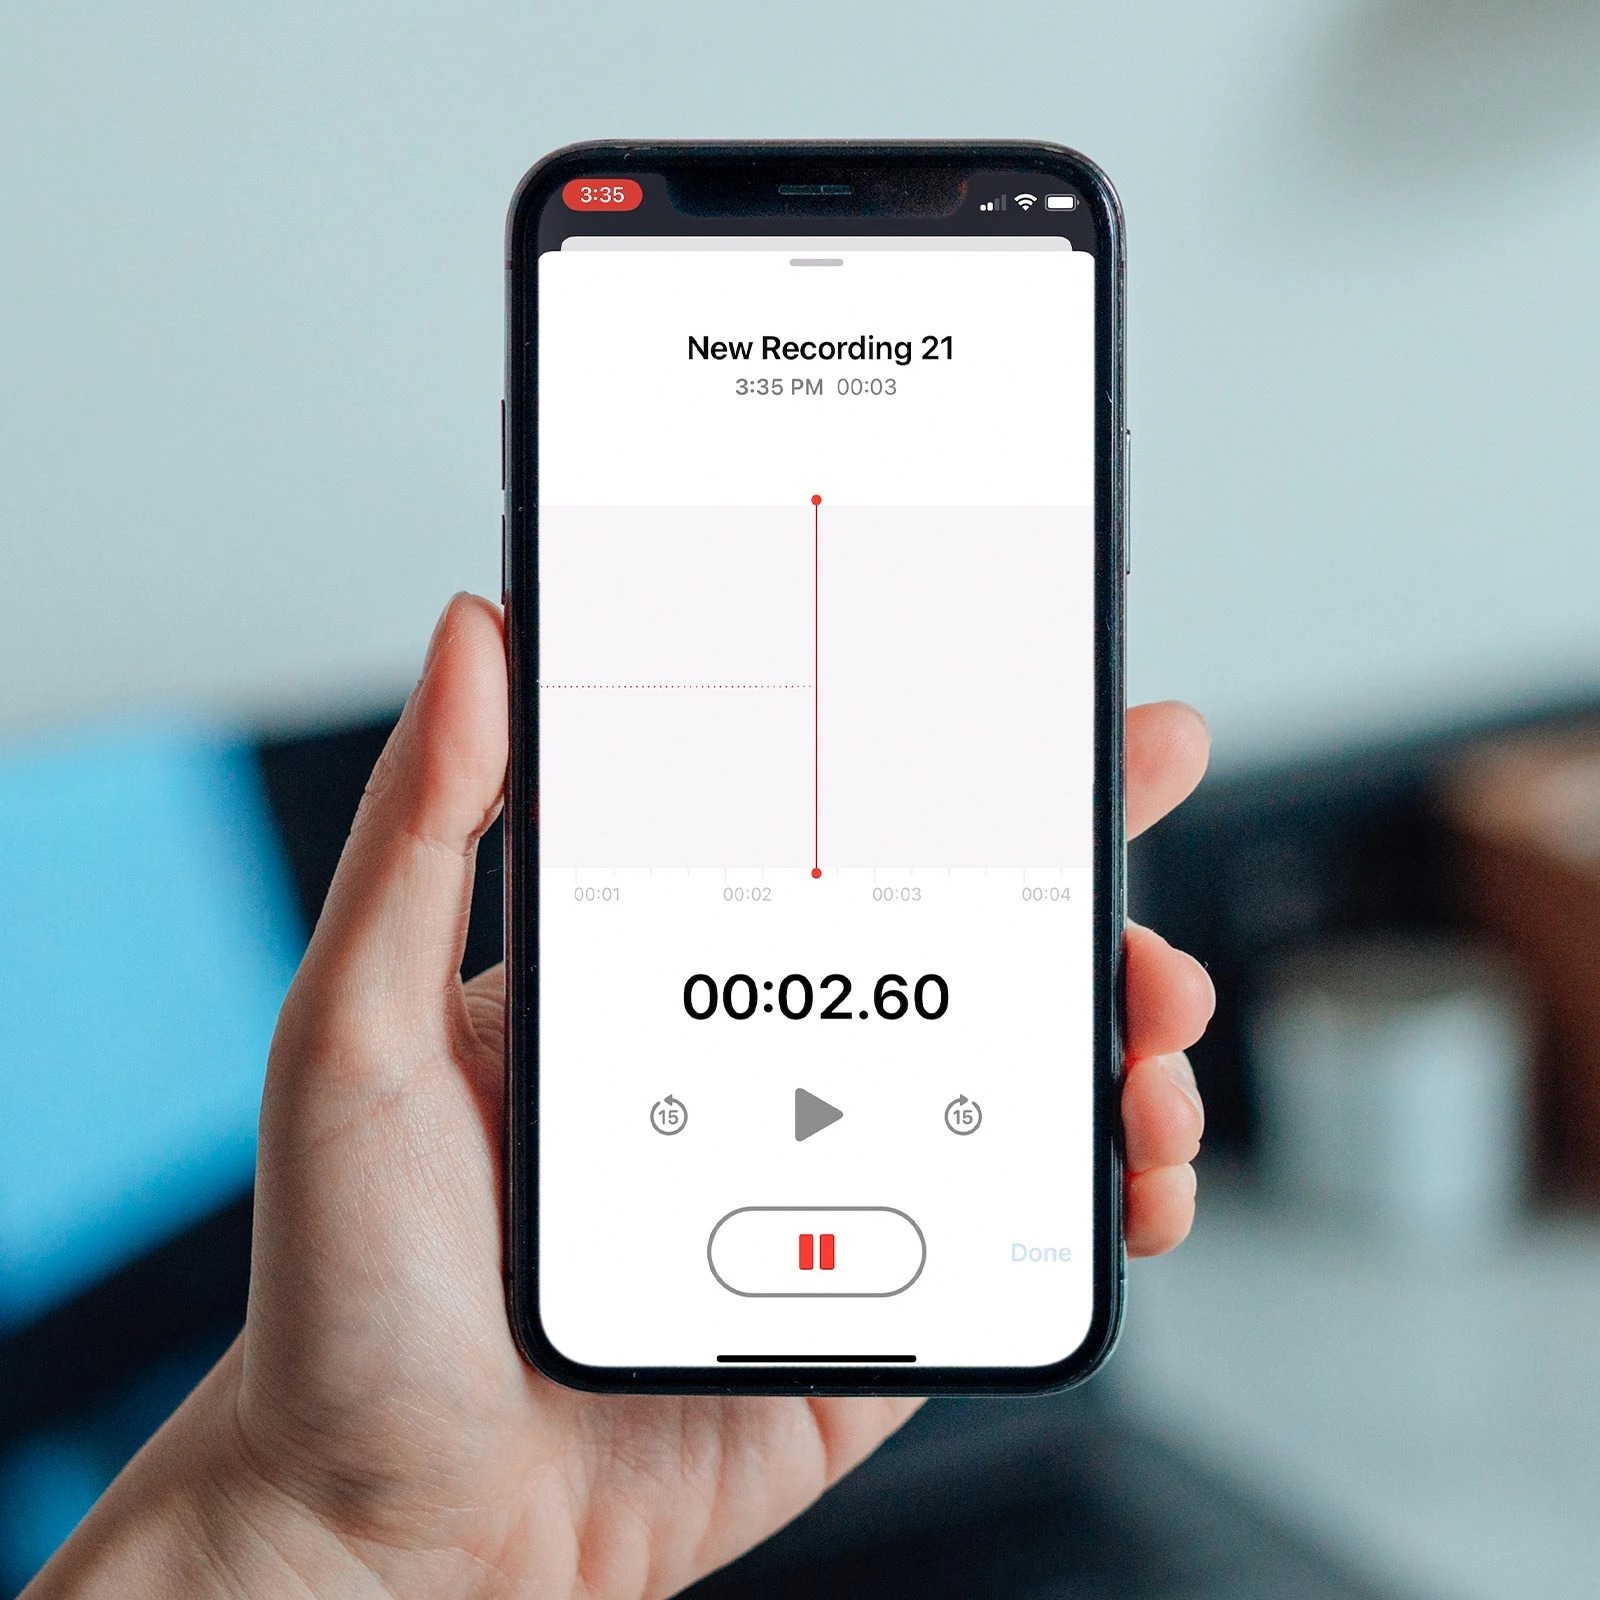
Pro Tip: Check out advanced apps like Google Recorder for additional features, including automatic transcription.
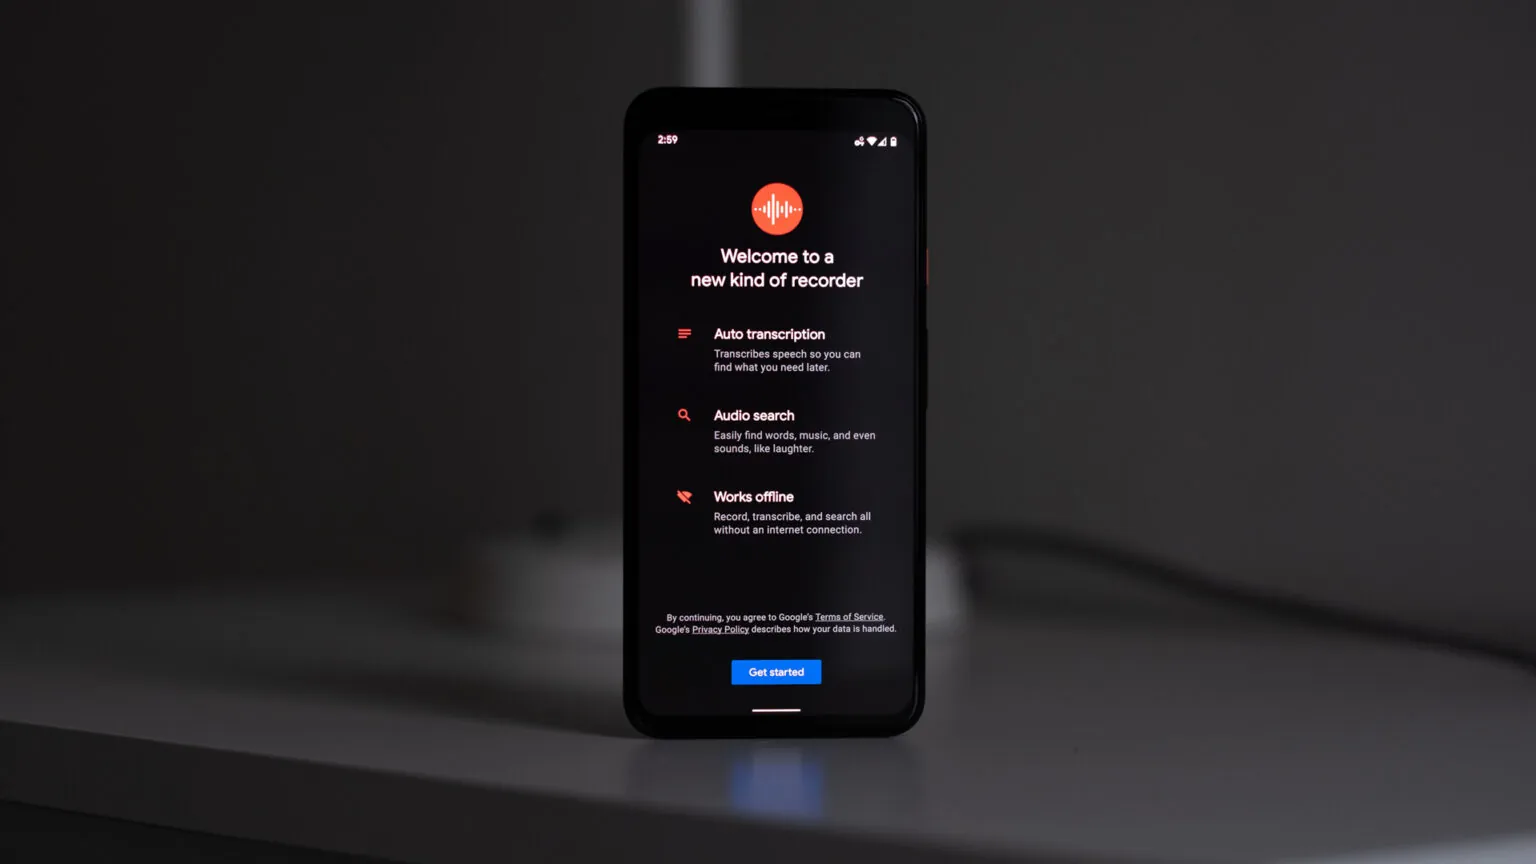
2. On Android
- Download and open the Google Recorder app from the Play Store.
- Press the Record button and start speaking.
- Tap Stop when you’re done.
- Use the Share option in the menu to save or send your memo.
3. On Mac
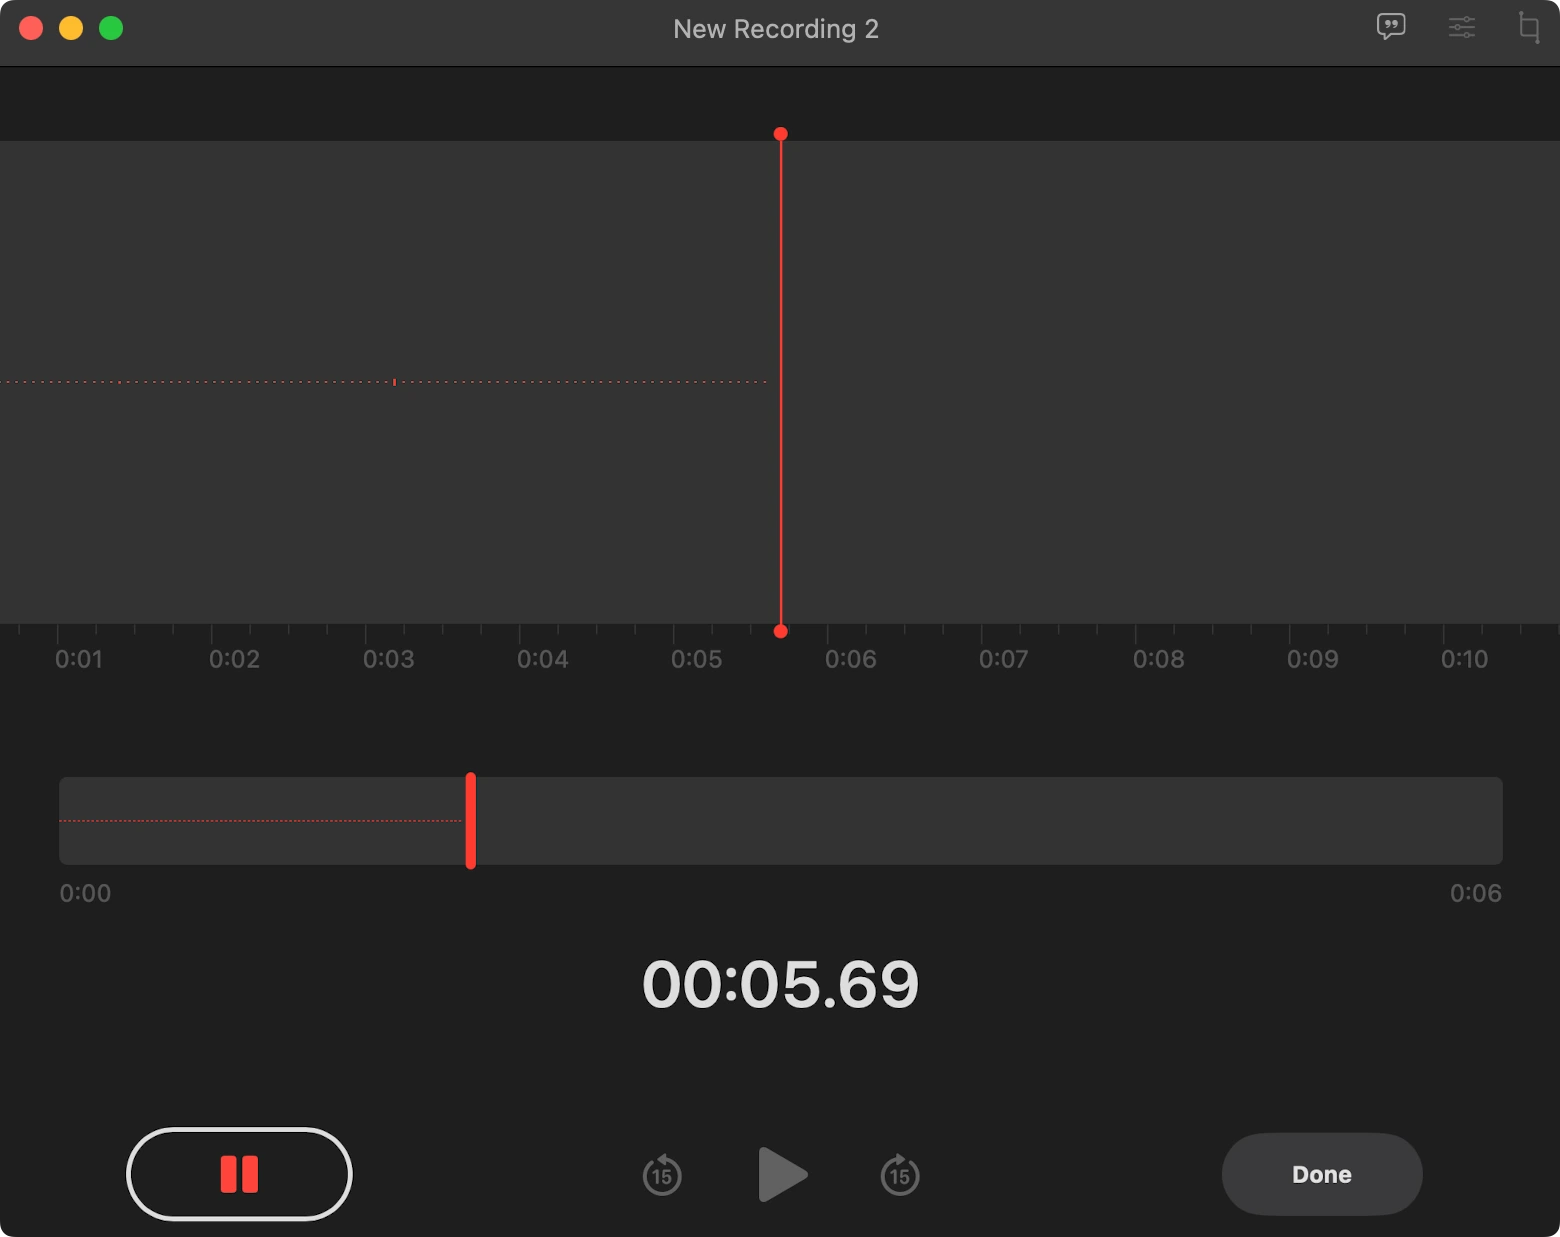
- Open the Voice Memos app or use tools like Google Recorder or Audacity.
- Click Record and start speaking.
- Press Stop when finished.
- Drag and drop the file onto your desktop or export it using the app menu.
4. On Windows
- Use the built-in Voice Recorder app.
- Click Record, speak your thoughts, and then press Stop.
- The file will be saved in the Documents > Sound recordings folder.
Step-by-Step: Transcribing Your Voice Memo
1. Using Free Online Tools
- Look for simple online transcription tools that accept audio uploads.
- Upload your audio file and wait for the tool to process it.
- Copy the text and edit it as needed.
2. Using YouTube’s Auto-Captioning Feature
This is a creative workaround for transcription:
- Upload your audio as a private video on YouTube (you may need to add a static image to create a video).
- Wait for YouTube to generate auto-captions.
- Go to YouTube Studio, find your video, and click the Subtitles tab.
- Download the captions file and convert it to plain text using a tool like Subtitle Edit.
3. Skip the Memo: Dictate Instead
If you are at your Mac, you can skip recording altogether. Speechy, a dictation app for Mac, types what you say, live, wherever your cursor is, whether that is Notes, a document or an email. It does not transcribe recorded files, so use one of the methods above for memos you already have. Speech recognition runs on your Mac, so your audio is not uploaded to be transcribed.
Final Thoughts
Transcribing voice memos doesn’t have to be a chore. Whether you use a simple online tool, a built-in app, or skip the memo and dictate, the key is finding a method that works for your workflow.
Start turning your audio into clear, actionable text today, and take control of your daily productivity!